
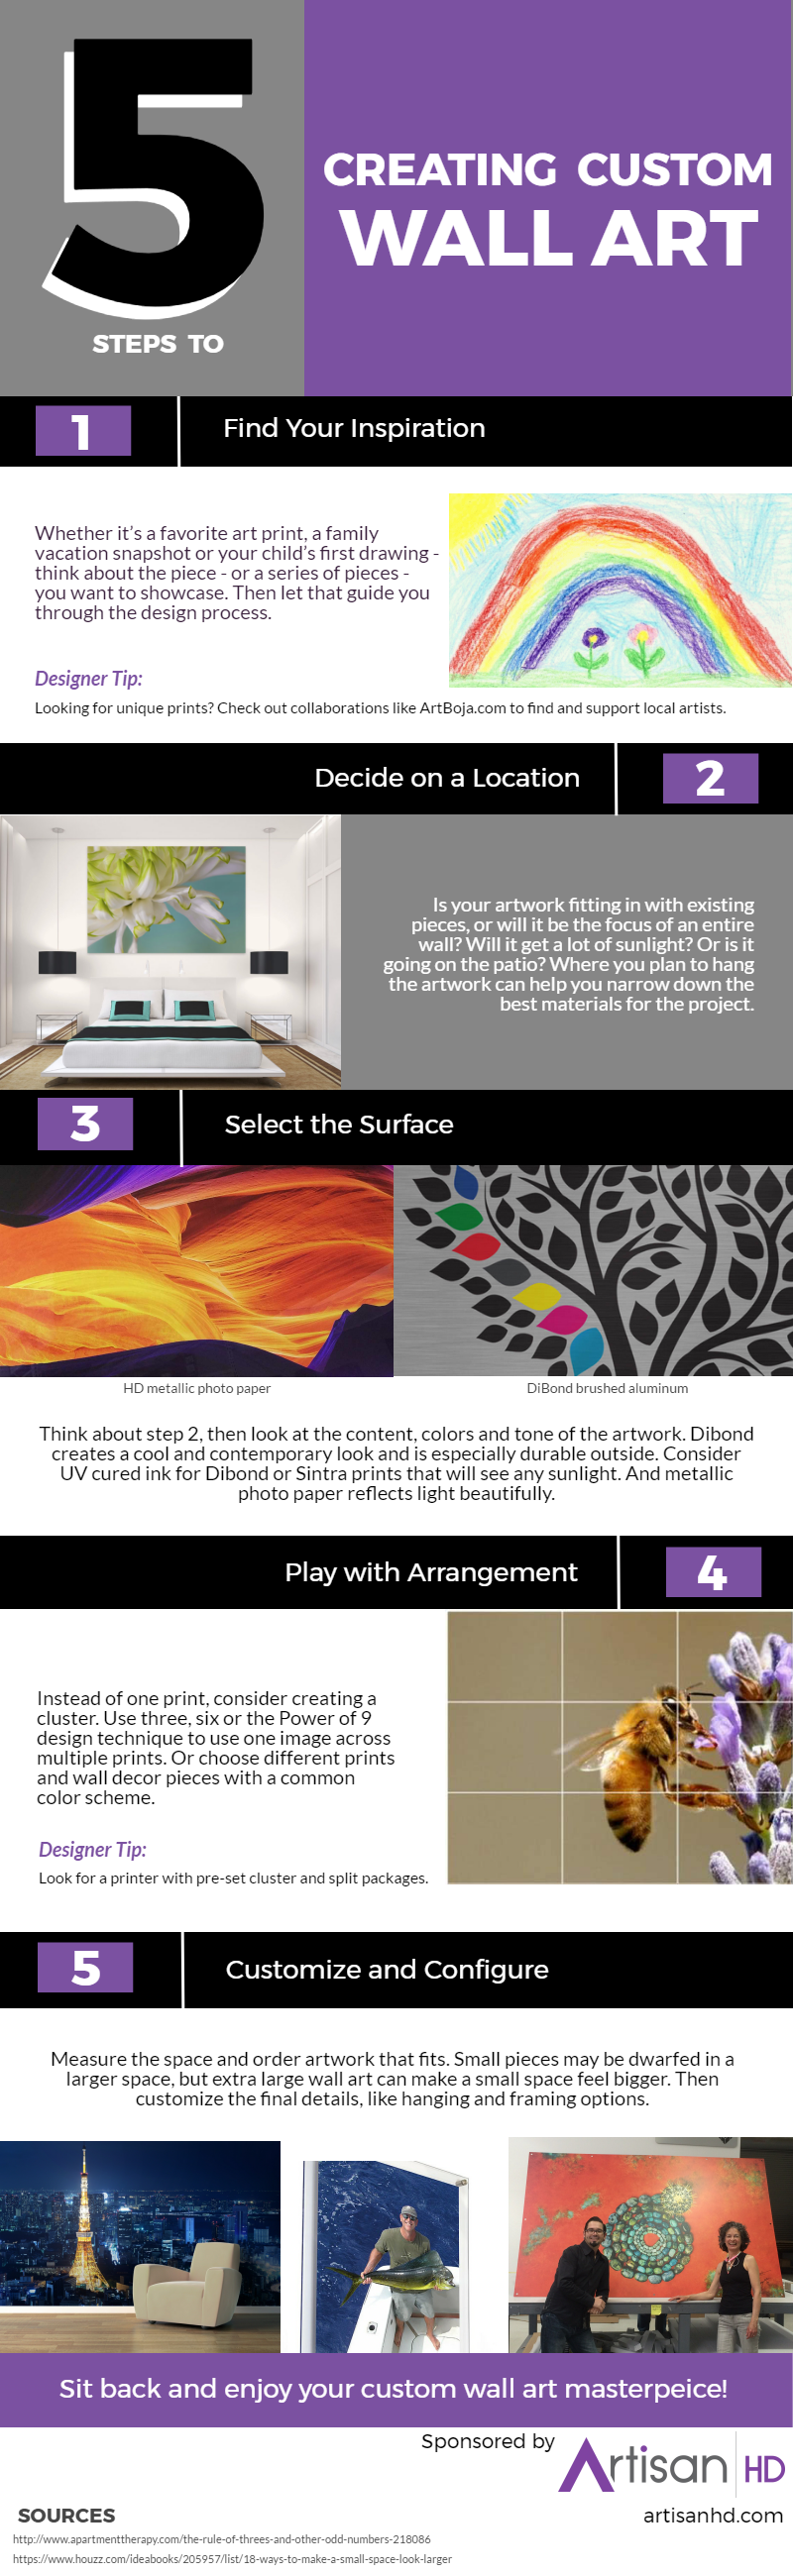
Whether you want to spruce up your space with personalized artwork or enhance your existing decor with stylish and modern media, creating custom wall art decor is much easier than you may think. So start searching for that perfect piece of artwork and let your imagination run wild. You can create gallery-style artwork in just five simple steps!
Select your Source
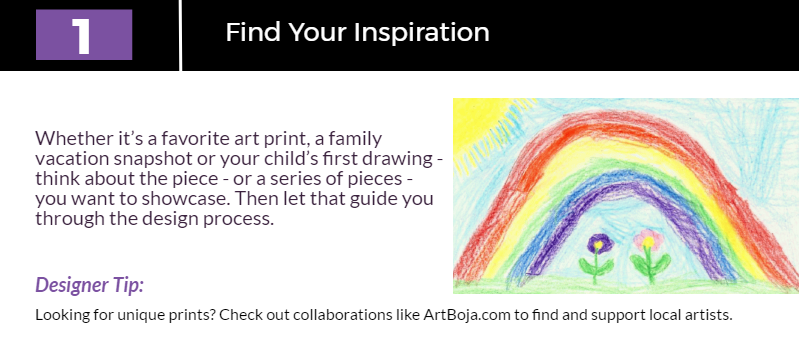 This can be the trickiest of steps, since you may have many potential pictures to adorn your home or office. You may have no idea where to start, or what would look good transformed into a masterpiece. The good news is that there is no wrong answer! Anything can serve as your artwork inspiration, like a favorite family photo, a vacation snapshot, your child’s first drawing, or a classic painting reprint.
Consider how the image makes you feel, or how you want to feel in your space. Studies show that looking at pictures can have great effects on our emotions. For instance, looking at a cherished photo or images of loved ones can reduce stress and anxiety. Looking at pictures of nature and trees also brings down stress and anxiety, especially in an urban environment (ideal for an office!). Think about the next step (where the art will go) to help guide your inspiration.
Location, Location, Location
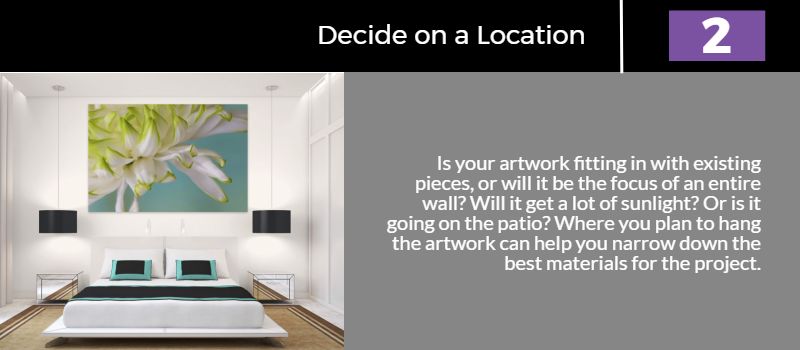 Think about where your new custom wall art decor will be placed. Will it fit in with your existing photos and artwork, or is it going to take up a large, blank wall? Is it going in the kitchen where it should stand up to more humidity, or the patio where it will be in direct sunlight? Figuring out where you want to put your artwork will not only help you decide which image(s) to use, but also what materials you want to print on.
Mixed Media
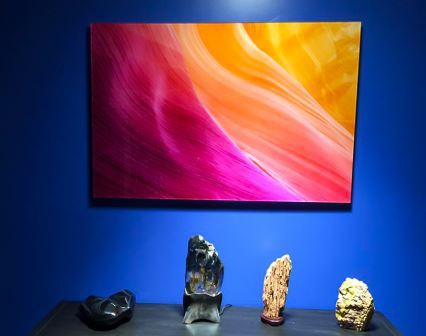
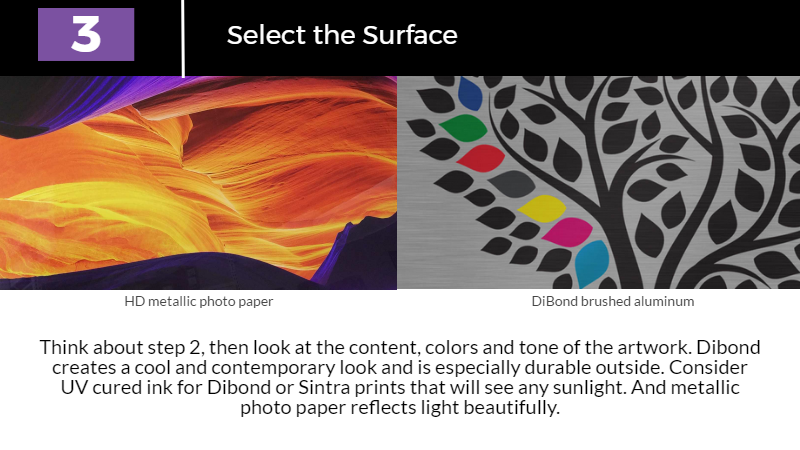 The media you choose to print on will have a lot to do with your location. For example, artwork that will hang outside will need to be extra durable. Think Dibond with UV-cured ink to make sure the colors continue to pop despite the elements. Or, in a room that receives changing sunlight, think how fun using HD metallic photo paper would be. The metallic paper will reflect the colors differently based on sun placement and amount. And if you’re really going for a modern gallery look, direct to acrylic with standoffs is simply stunning in all environments.
Arrange It
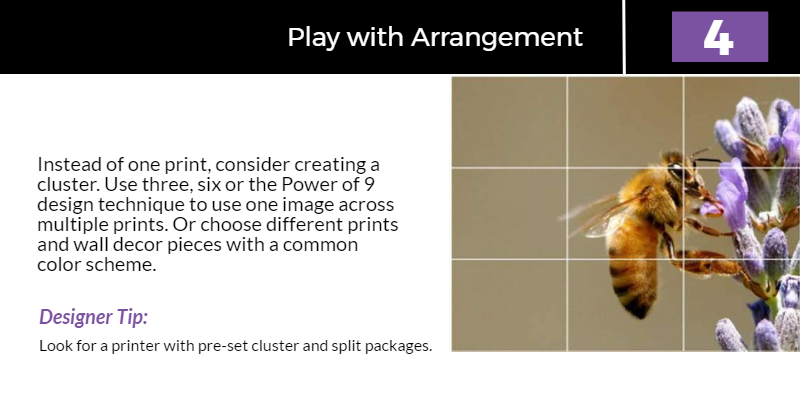 Instead of hanging one piece of artwork in the center of a wall, think about incorporating other elements, or creating a series of pieces. You can work with other wall decor pieces to incorporate the power of 9 (or 3 or 6) in a cool mixed media wall display. Play with similar colors, sizes, styles, or a common theme. Or, use a pre-set cluster and split package to create a series of prints from just one image.
Configure Your Custom Wall Art Decor
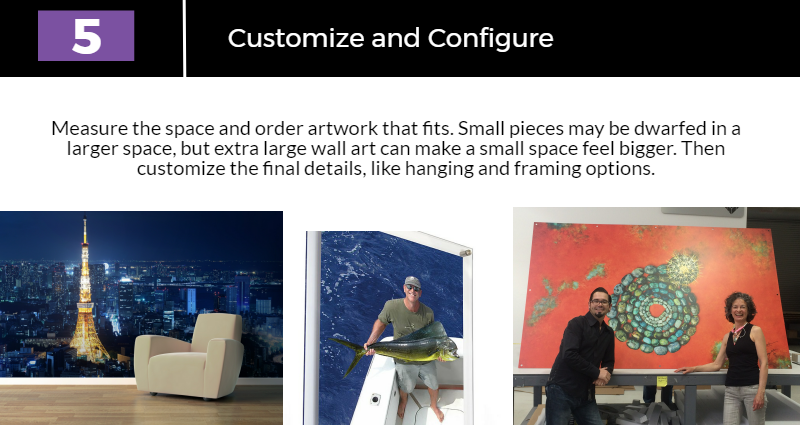 Now it’s time to finalize all your choices and configure your new wall art decor! Get precise – measure the walls and space, especially if this piece is fitting in with other artwork, or in a very specific place. Look at the wall and decide how you want to mount or hang the wall art. Can you drill into the wall and use standoffs? Or do you want your custom canvas print to float seamlessly? With our ArtisanHD custom configurator, you can see size comparisons, crop or rotate the image, select your material, and narrow down finishing touches as you design.
And there you have it – your own custom wall art decor in five simple steps! What will you design next?


Leave A Comment