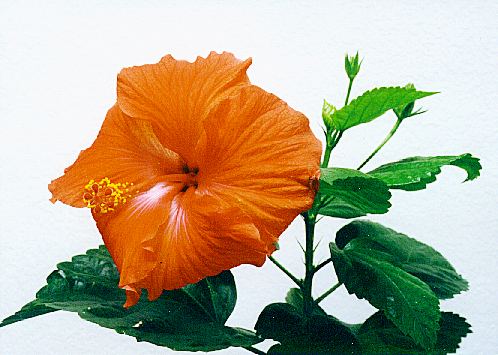
Big images call for close attention to sharpening. Here are some different views on a subject that ae
Sharpening with Unsharp Mask: “Sharpening filters emphasize the edges in the image, or the differences between adjacent light and dark sample points in an image. The generic Sharpen or Sharpen More filters are often for graphics, and are less suitable for color photographic images. However, filters do vary, the name ‘Sharpen’ is vague and is not always very descriptive, it is hard to say what they do. But the UnSharp Mask is where the action is for photographs, the standard tool. It offers the necessary greater control.”
Here’s a nice technical discussion…
Basically, the script works on smaller photos 70mb tiffs but throws up errors when trying to open them when used with larger photos (400mb-470mb). I have tried limiting the script to 8 bits per channel to ease the processing as well as limiting the memory to 5gb (3gb ram 2.5gb swap space). I am using a 2.6.14-2-k7-smp kernel and using debian & imagemagick 6.2.4 which is Q16 (memory has been memtested)
Here is yet another view… at Imaging Resource
In many of the articles on this site, we covered a number of ways to improve your photos digitally, including adjusting tonal balance, and “cloning out” distracting image elements. This time, we’re going to drop down to a less obvious level, and deal with the much-maligned and misunderstood technique of image sharpening.
I say “maligned and misunderstood” because many people only use the “sharpening” tools inimage editing programs to try to correct for blurry or mis-focused original images. Worse, some manufacturers of low-end editing programs (e.g., Microsoft, with PictureIt) felt that “sharpening” was too technical a term, and so changed it to the more (mis)understandable term “focus.” Aarrgghh! (Sorry, I had to get that out of my system.)
And byThom offers this post:
Sharpening is easy to understand at the simplest level—given two digital photos, one sharpened and one not, you’ll always point to sharpened one as having more detail and being “better focused.” Yet, if you were confronted with two sharpened photos, one well done, and the other less so, you might not be able to differentiate between the two.
Unfortunately, most digital photographers have learned sharpening by fixed rules that specify exact values to use in Photoshop’s filters, and therefore neither understand why they use the tools they do, or how they might be using them rightly or wrongly. This article attempts to clarify the problems created by digital imaging, and how to apply the correct amount and type of sharpening to fix them.
Now… this looks pretty cool.
Refocus-it was written by Lukas Kunc and the “it” also stands for iteration, because that’s the approach the algorithm (a Hopfield neural network) takes in order to restore image information. Whether or not it’s working is what I’m trying to demonstrate with two test cases: One with an extremely and another with a slightly blurry image. In both cases I tried to enhance the image with an unsharp mask and the refocus-it plugin just as comparison in regard to the plugin’s effectiveness.
I will have to check that out.
Next up – a step-by-step tutorial. Simple, but well stated.
Basic Sharpening
Sharpening is normally the last thing you do before saving a file. There are many ways to sharpen an image in Photoshop. This tutorial describes the main sharpening method using the Photoshop Unsharp mask filter and includes some sample settings and describes when you might use them.
Have a great weekend, and stay sharp!


Leave A Comment